

The customer can request an appointment and when that date arrives, bring the animal to the center for the training/education service.
But you can also provide service without the customer having requested a prior appointment.
Let's create our first trial appointment together:
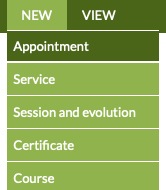
You can do it in the option New > Appointment or in the option
View > Planning and
click on the button
CUSTOMER: Search for the customer and select them or if they don't exist, quickly add the customer and their animals.
DATE AND TIME: Select the date and time.
TRANSPORT: You can select if there is pickup and/or home delivery service.

Pickup/delivery will be automatically added in the planning for that day.
You can access the planning directly from here to check availability, for example.
EMPLOYEE: You can select the employee to whom you assign the appointment.
NOTES and COLOR TAG: You can write notes or comments for yourself.
You can assign a color tag to identify that appointment, if you wish.
SERVICES: It is not necessary to fill in anything else to save the appointment. But if you want, you can already select the services or rates (training or education session, transportation, ...)
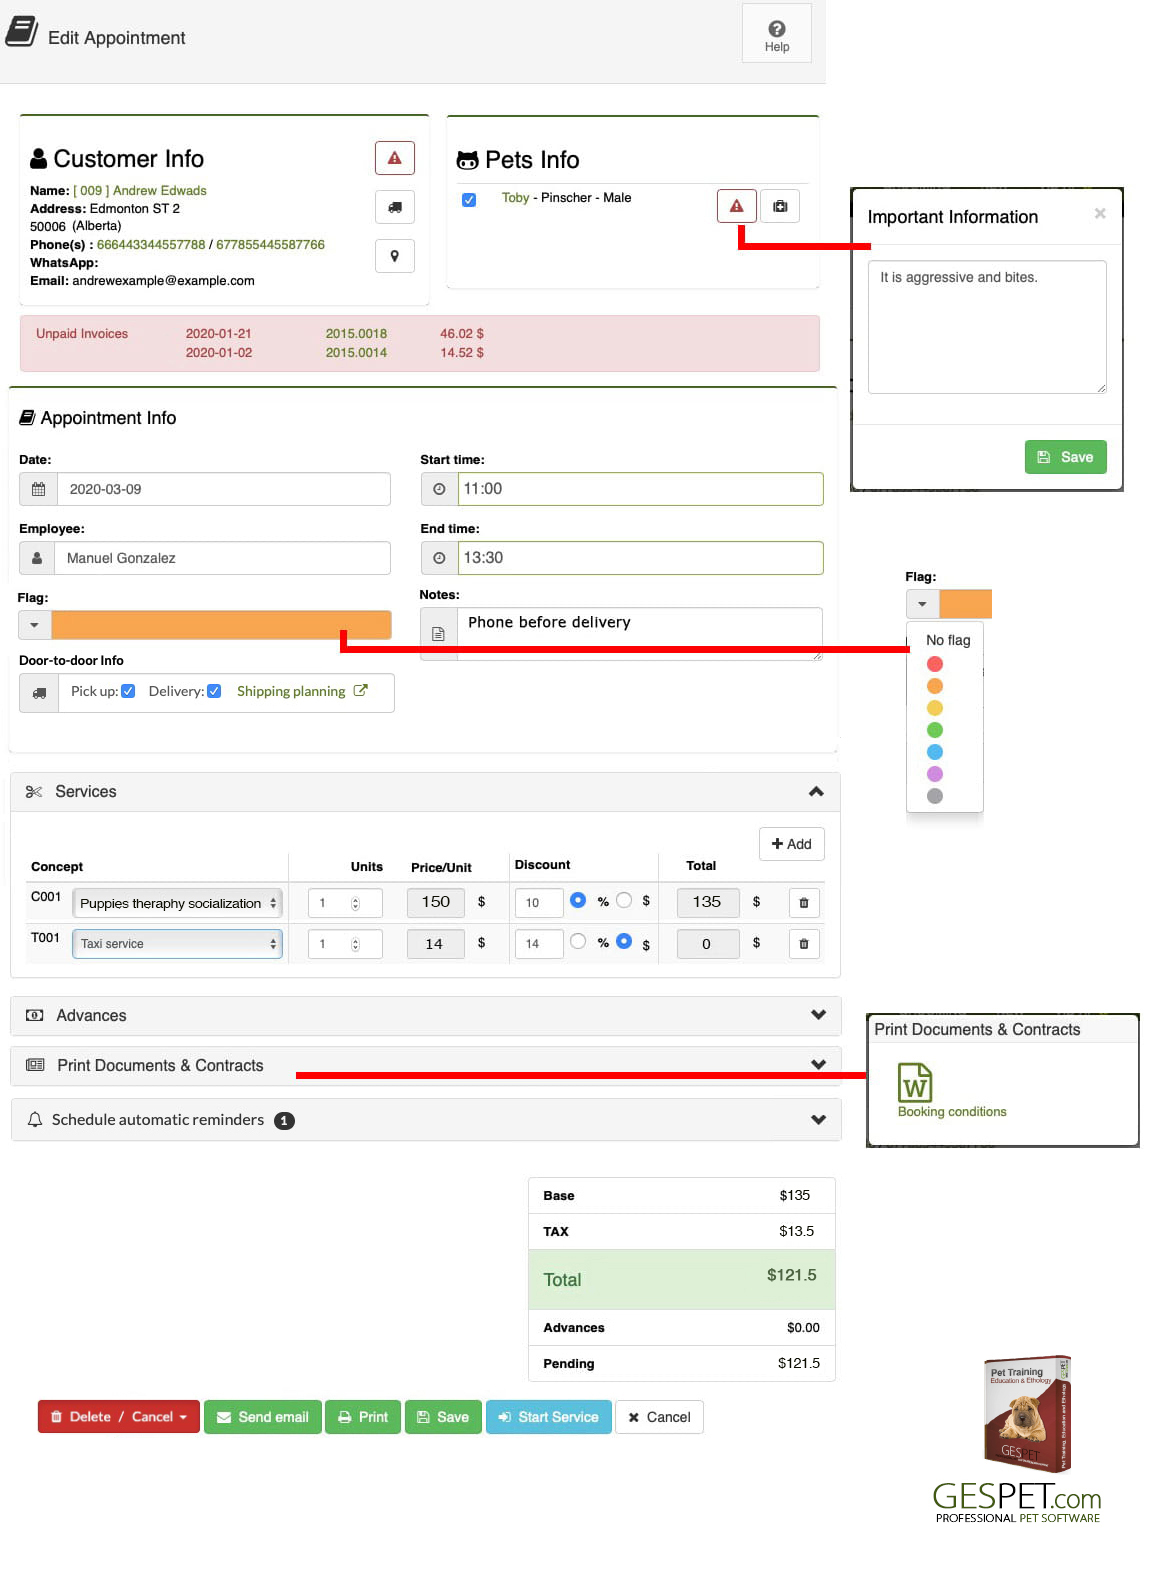
PAYMENTS ADVANCES: You can note down payments advances if the customer gives you some money before or during the service/appointment.
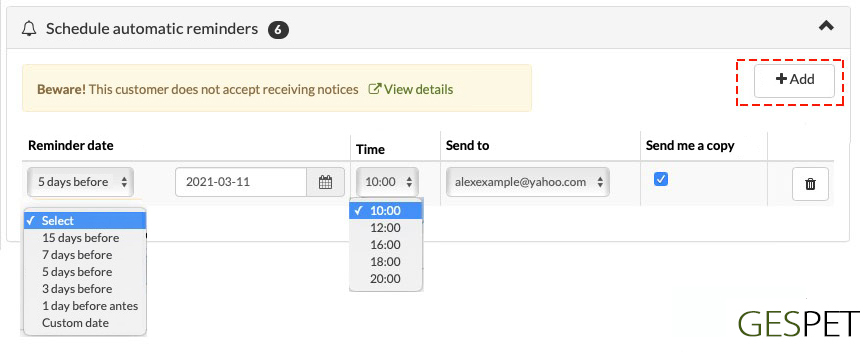
APPOINTMENT REMINDERS: You can schedule automatic reminders so that, on the selected day, the customer receives an email reminder of their appointment. They will be sent automatically, you don't have to send them yourself.
Add as many reminders as you want by clicking the ADD button.
MORE OPTIONS: At the bottom you have available the options:
Print this reservation summary
Email it to the customer and send yourself a copy
If you want to print or send any document/contract when you make a new appointment to hand it to the customer (legal conditions, privacy, tips before their grooming service ...), you can configure it and it will appear at the bottom, for you to print/send directly, without leaving this screen.
The Transport option corresponds to the Transport software. If you do not have this software, it will appear inactive.
Previously, we have scheduled a trial appointment together, and now we are going to start a service.
In the option View > Appointments or View > Planning:
You can select the appointment you want, and all the data that you included when adding the appointment are already filled in: date, start and end time, animals, customer, services, etc.
You can also click on the button to start working on that service directly.
You can modify whatever you need
In the option New > Service or in View > Planning >
Service Button +, select the customer if they already exist, or
you can add them directly if they are new.
Select the animals and fill in the service details.
When you finish the training/education service, you can choose if you want to:
Not charge/invoice
Charge/invoice now
Charge/invoice in the Store software
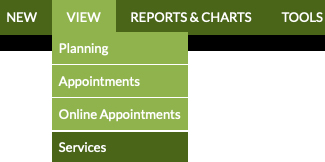
You will see all the services in the option View >
Services.
To charge for a service, click on and select the option you want:
Click on and then on
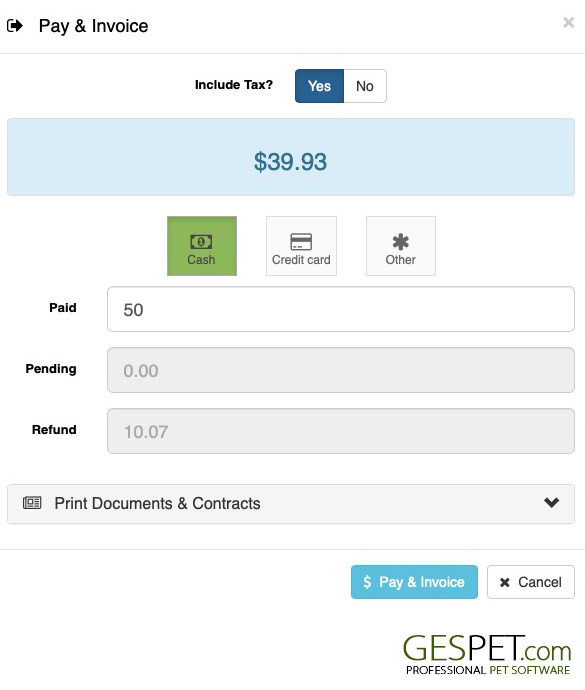
If this sale is tax-exempt, select the option (Taxes = NO), and the invoice will be generated without taxes.
Select the payment method (You can configure all the payment methods you want)
Enter the amount paid by the customer in "Paid", and the calculator automatically shows if there is a shortage ("Pending") or surplus ("Return").
To finish, click on
The invoice is automatically generated and you can print and send it by email.
Remember that you can configure the numbering format you want the invoices to follow. You don't have to manually write the number of each invoice, the software fills it automatically so that the invoices are consecutive.
Click on and then on
A pop-up window will appear to confirm that you want to end the service.
The Pet Shop software has been opened and the service has been added to the ticket.
You can add products to the ticket
Add if you want to charge for other services such as accommodation, grooming, puppies, etc.
Click on Charge to complete the sale. You can find more information in the help section about the Pet Shop area
