It’s a connector, meaning an option that you can integrate or embed in other places (your website, blog, etc.)
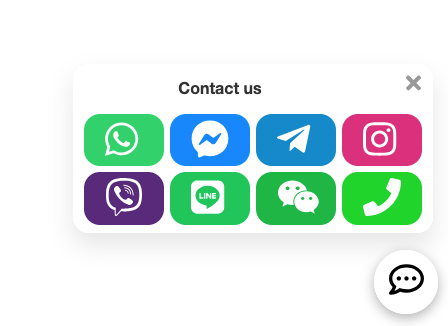
This connector is a powerful communication tool that allows your customers to contact you, improving the relationship with your customers and the image of your business by providing a seamless user experience.
You can configure the contact options you want and choose where to include it, for example, on your website.
Moreover, it’s an ideal option to include in places where your customers might have more questions, such as contact forms, booking request forms, purchase forms, etc.
If you’re using the Gespet online booking/request system, all you need to do is check the
option Include Gespet contact button and it will automatically appear in the
bottom right corner. No further action is required, and your users will be able to contact
you if they have any questions.
TIPS AND TRICKS FROM GESPET
Why is it crucial to have visible contact options on your website/blog/social media?
Direct contact options on your webpage are much more than just a feature: they are a powerful tool to boost sales and enhance the user experience! When a potential customer can resolve doubts in real-time, their trust increases, and with it, the likelihood of completing the purchase, booking, or whatever action they are undertaking.
Imagine a customer who is about to book an appointment at your business, but they have a question. If they can contact you, it’s much more likely that they will complete the booking with you rather than going elsewhere for that service. Not only do you offer fast service, but also personalized service, creating a positive and memorable experience.
In short, with clear and accessible contact options, you gain customers, increase satisfaction, and strengthen your brand.
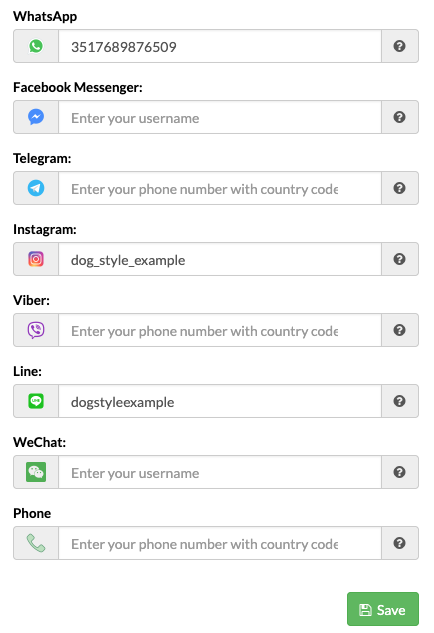
You can configure your contact options. Simply enter your WhatsApp number, Telegram, Instagram username, WeChat, etc., and click the button.
On the right, you will see a preview of the button and the contact options you’ve chosen.
It’s ready to use. Now, all that’s left is to place it where you want it.
You can integrate it into your website or blog. For example, if you want it to appear on your website in an option called "Contact Us," it’s very simple:
In Gespet > in the same option Tools > Gespet Contact Button > 3. Integrate it
into your website select the language you want. For example, Spanish.
In the source code of your website or blog, in the place where you want it to appear, for example, in "Contact Us," paste the code you just copied.
The Contact Button will immediately appear, and your customers, by clicking on it, will be able to contact you, send you a message, etc. quickly.
If your website is in multiple languages, you can repeat the same process by selecting English, for example, and pasting the code in your website’s "Contact Us" section.
You can use as many buttons as you want. You can use it on your website in 3 languages, on your blog in another language, etc. wherever you want.
It’s very easy, if you want to modify your WhatsApp number, remove, for example, your
Instagram username, or add your Telegram phone number, just go to Tools > Gespet
Contact Button > 2. Configuration, make the necessary changes, and click the
button.
It will be updated automatically on your website/blog, without needing to change anything on your website/blog.
To make adding customer and animal data even easier for you, by using the Gespet Connector Customer Registration, you can ask your customers to fill in their own data and their animals' details.
It’s super simple. You can just send them the link to the form for them to fill out:
On the main screen or Magic Desk

Click the button
Or you can copy the link code you'll find below and send it however you prefer (via WhatsApp, social media, SMS, ...)
Or you can download the QR code to print it, share it (on your website, social media, etc.), or send it to the customer however you prefer (via WhatsApp, SMS, etc.).
The customer will see this form in the language you sent it in:
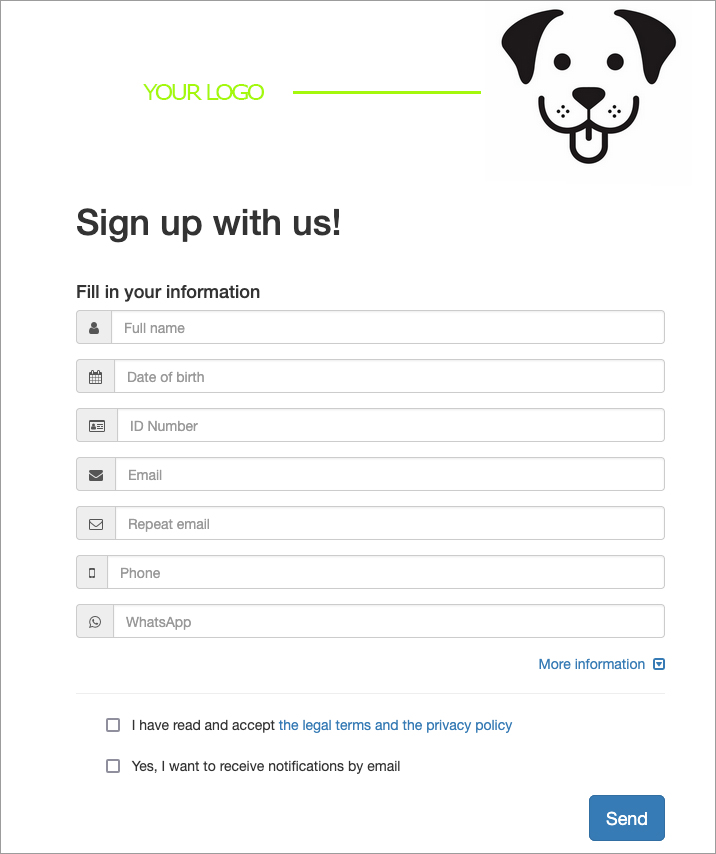
Customers can fill in their personal and contact information
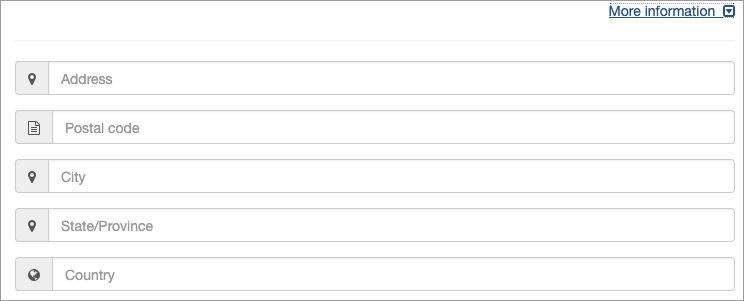
And additional information
All you need to do is review it, and if you wish, approve it so that it’s added to your customer database. This will save you a lot of time, as you won’t have to manually enter the data yourself.
When your customers fill in their information, it will remain pending until you confirm it. Once confirmed, the customer/animal will be automatically added.
You can configure several parameters:
Company Logo: If you select this option, the logo you have set up
in Settings > Basic Settings > Company Details > Logo will appear at
the top.
Legal Terms / Privacy Policy: A link to your page or document (Google Drive or similar) containing your legal terms and privacy policy, so the customer can read and accept them before submitting their information.
GESPET TIPS
The Importance of Accepting Legal Terms, Usage Policies, and Privacy Conditions in a Form
When a user fills out a form on a website—whether to sign up, make an inquiry, or take any other action—it is recommended, and in some countries required, that they accept the legal terms, usage policies, and privacy conditions.
This acceptance not only helps comply with data protection regulations applicable in each country but also ensures transparency and security for both the business and the user. In many regions, such as the European Union (GDPR) or California (CCPA), businesses are not allowed to collect, store, or process personal data without the user's explicit consent.
Why Is This Important?
Legal Compliance – In some countries, the law requires businesses to inform users about how their data will be handled and obtain their consent before collecting it.
Personal Data Protection – It ensures that user information is managed responsibly and in line with local regulations.
Avoiding Legal Issues – In regions where consent is mandatory, failing to obtain it could lead to penalties.
Transparency and Trust – Clearly informing users about what data is collected and why builds trust in the company.
While the requirement varies from country to country, adding a checkbox for users to confirm that they have read and accepted the terms before submitting their data is always a good practice. This keeps everything above board and ensures a smooth, legally sound process, no matter where you operate.
Redirect Page: This is the page the customer will see right after submitting their information (it can be your website, social media profile, etc.).
Include Your Gespet Contact Button: If you select this option, a
button with your preferred contact options will appear, allowing the customer to
reach out to you directly. These options can be configured under Marketing >
Tools > Gespet Contact Button.
TAGS:
Pet booking management | Effective communication for pet businesses | Pet appointment management | Email campaigns for pet shops | Customer loyalty in pet stores | WhatsApp marketing for veterinary clinics | Automatic reminders for pet appointments | CRM for dog groomers | Marketing strategies for dog trainers | Promotion of pet products