
Now that the cash register is open, and we have products, let's make the first sale.
You will see that the screen is divided into two areas:
On the left side are the categories and products
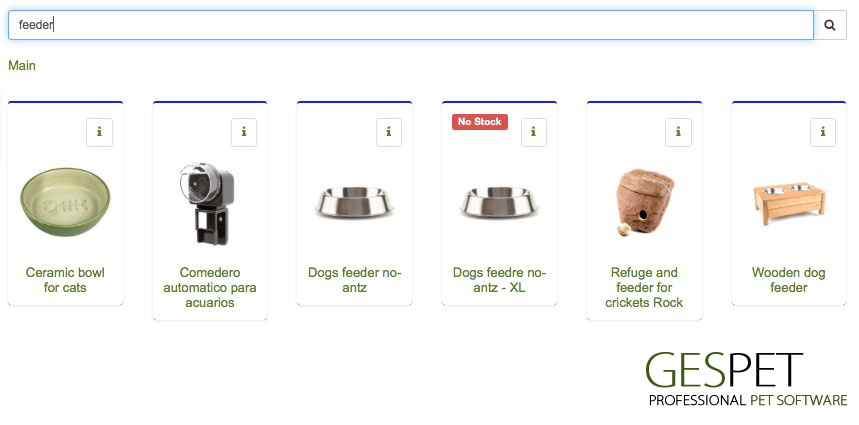
You can search:
By typing the code or scanning it using the barcode reader or scanner
By typing the brand name, product name, color, etc.
And by making combined searches: Dog + chicken
By clicking on a category, its subcategories (if any) and the products within them will appear.
If you click on a product, one unit is added to the ticket. If you
click again, another unit is added, and so on (5 times = 5 units added to the
ticket).
On the right side is the ticket. If we click on a product, it is added
to the ticket.
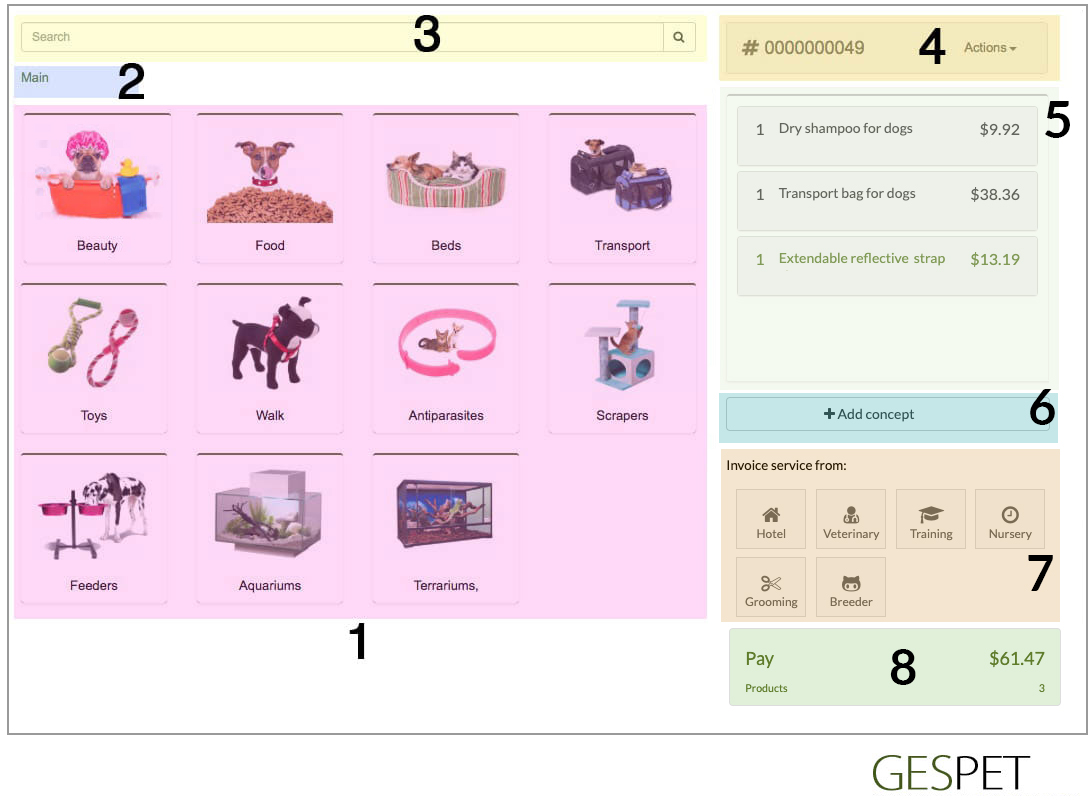
List with product categories/subcategories
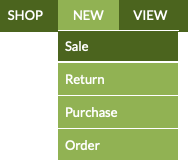
Navigation bar
Search bar
Ticket number and available actions
Products/services added to the ticket
Add manually
Charge services from other areas
Proceed to the next step to finalize the sale.
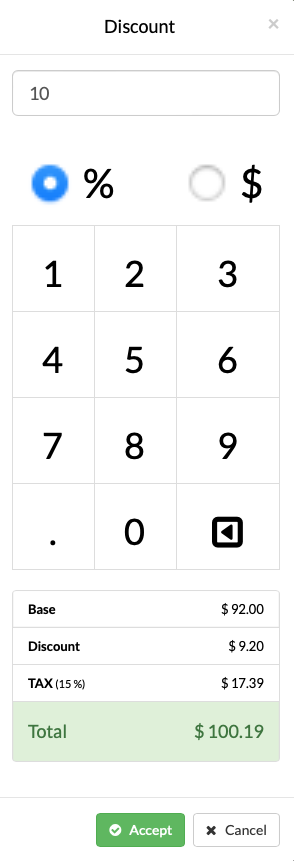
On the ticket, if we click on a product, we can: delete it, modify the number of units, and include discounts:
We can manually add items, such as a product that is not in our
database.
We can pause the ticket, to save it and complete the transaction later.
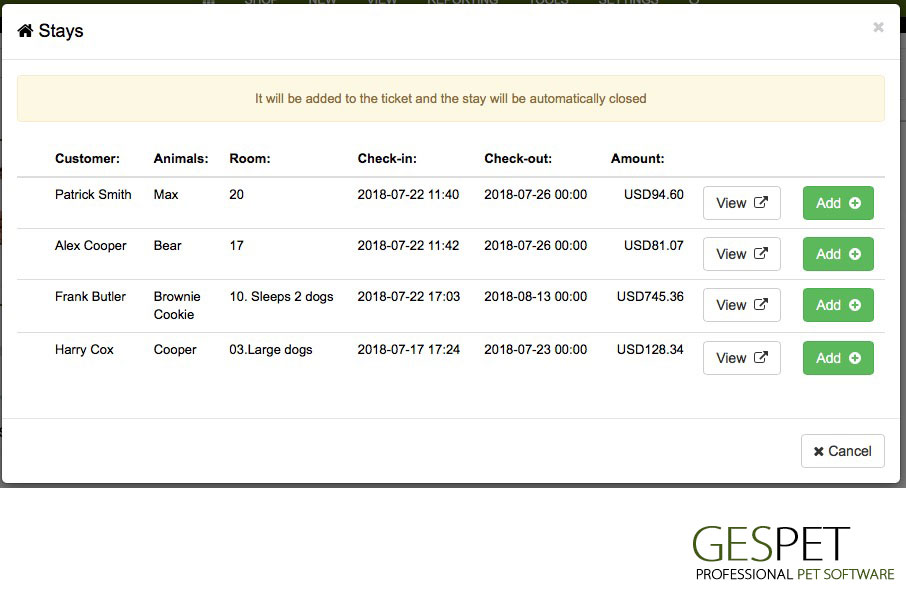
We can charge for services from other business areas: veterinary
consultations, hotel and daycare accommodations, training and grooming services,
and sell animals from our breeding area by clicking on the option Charge
service from
When we have added all the products and services, we want to complete the sale by clicking
on PAY.
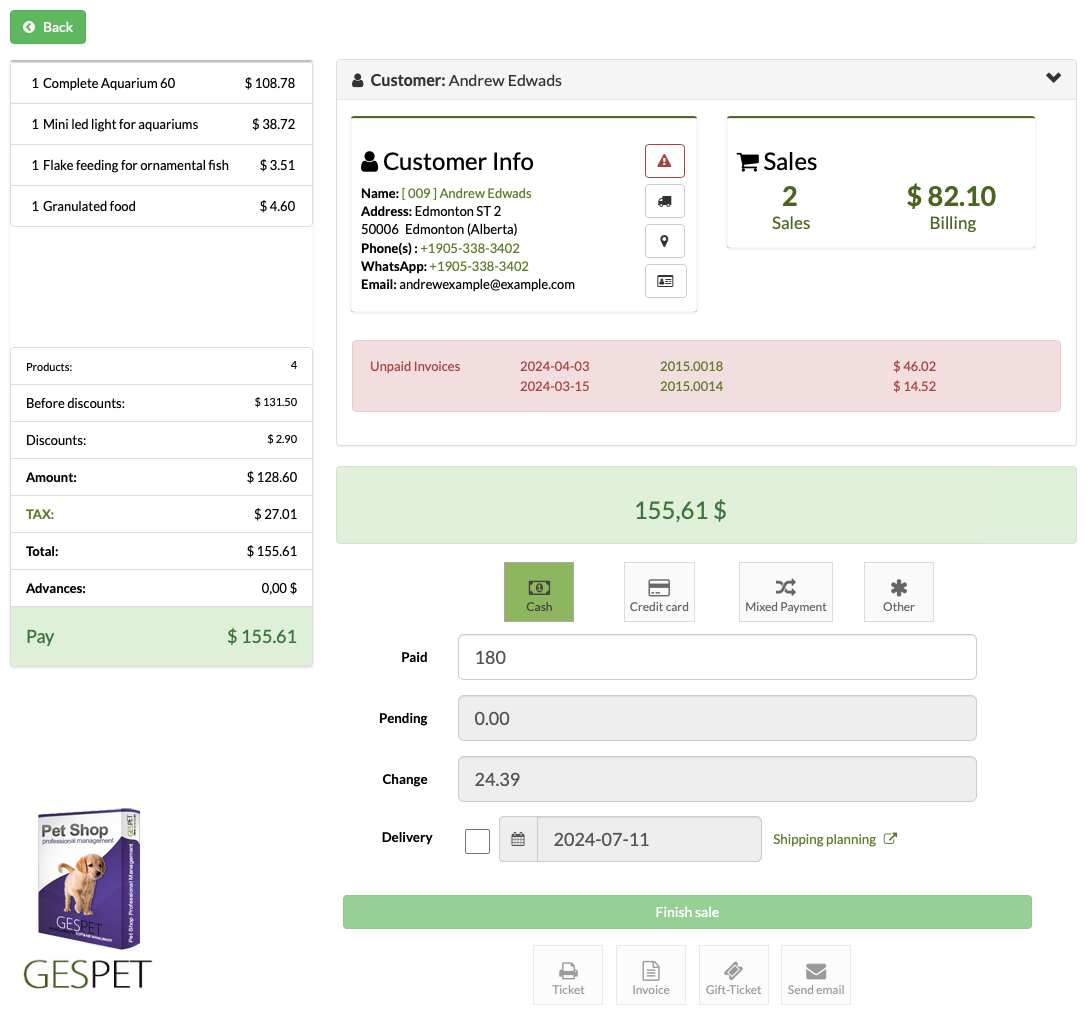
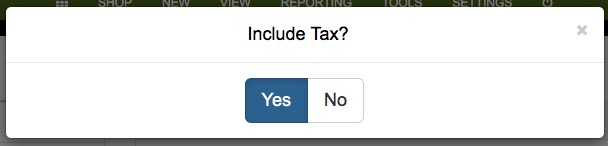
You will see the ticket summary on the left. If you click on the tax name, a
selector will appear for you to choose whether the sale includes taxes or is tax-exempt.
On the right side, you can select the customer:
If you don't select any, the default customer is the generic or "cash register customer."
If you want to select a new customer who does not exist, you can add them directly from this screen.
If you select an existing customer, their contact information will appear, along with any outstanding invoices and their sales statistics (number of sales and money spent).
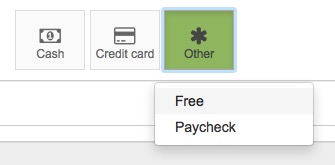
Finally, select the payment method. You can configure the payment methods you
accept in your business in the Settings > Payment Methods option.
If the order will be delivered to the customer's home, you can select the delivery date, and
it will be automatically noted in the transportation planning.

At the end of the sale, the options appear to:
Print Ticket
Print Gift Ticket (price not shown)
Print Invoice
Email the ticket or invoice to the customer
We have now made our first sale. We can see them all in the View > Sales
option.